What a Sheet of Parchment Changes About a Cookie
Bake a small tray on three surfaces and the edges tell the story. Here is how to choose a lining for a crisp rim, an even base or an easier release.
8 min read
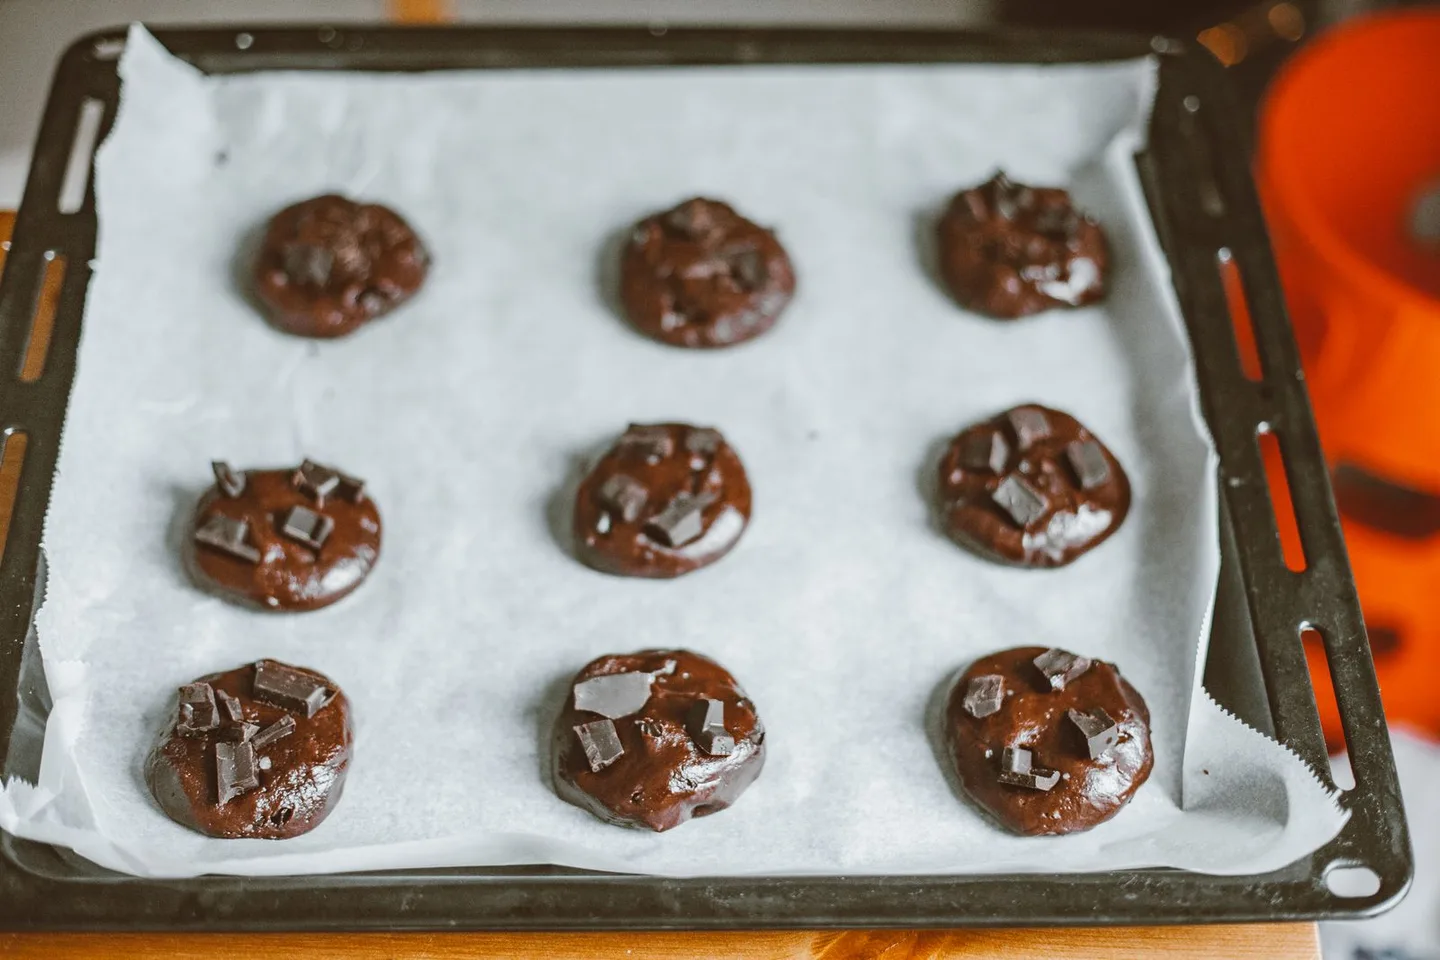
A cookie turns dark underneath long before its top looks finished. The difference can be hard to notice while a tray is still in the oven. By the time you see a thin brown ring around the edge, the base may already have developed the texture of brittle candy. Next time, before rewriting the recipe or pulling the entire tray a minute earlier, change the surface underneath the dough. A sheet of parchment has almost no flavor and looks like a trivial purchase. In practice it is one of the few things you can swap halfway through a batch without changing a single ingredient.
The most useful way to understand what parchment does is to bake the same dough on parchment, bare metal and a silicone mat. If you do not own the mat, two surfaces are enough. The answers are specific to the pans you have and the kinds of cookies you make. A heavy pale sheet, a dark coated sheet and a very thin tray conduct and absorb heat differently. A reliable setup for small sugar cookies may also be disappointing for a large portion of chocolate chip dough. The point of the comparison is to learn what your equipment tends to do.
Begin with the pan you reach for most
Take a clean baking sheet that sits flat on the rack. A rim is useful for getting the tray in and out of the oven. Choose a size that leaves space for hot air to move around it. Look at the surface in daylight. A sheet that once was pale may now be a patchwork of dark baked-on stains. Those spots can produce uneven results. Parchment makes cleanup easier, but a liner will not turn an uneven pan into an even one.
A dark pan may brown the bottoms more aggressively than a light pan under the same settings. An old thin sheet can buckle with a sudden pop as it heats, giving the dough a slight tilt. A fairly heavy light-colored sheet is a good starting point if you can choose freely. If the only pan you have is dark, try placing it one rack higher or lowering the heat slightly on a later test. Change one thing at a time so you can tell what mattered.
Use baking parchment within the temperature range printed on its package. Wax paper is a different material. Leave it for jobs such as separating cooled cookies. The paper should fit inside the tray, with any curled ends turned downward or held by the dough. A loose corner can lift toward the heat and scorch, especially in a fan oven. There is no need to grease parchment. Adding a layer of fat makes the surface harder to compare and can encourage more spread at the base of some doughs.
Give the experiment a small budget
Start with an ordinary drop-cookie dough you know reasonably well. A soft chocolate chip dough or an oatmeal dough works. A filled cookie is a poor first choice because differences in the position of the filling are hard to separate from differences caused by the liner. Weigh six similar portions and keep them at the same temperature. If the recipe calls for chilled dough, keep the portions in the refrigerator and take each pair out shortly before baking.
Bake two portions per surface on the same tray, using the same rack and letting the tray cool between runs. This sounds slow, but the rest of the dough can sit chilled until you pick a winner. It is possible to line one half of a pan and leave the other half bare. The result tells you less if the back of your oven runs hotter than the front. If you want to compare halves, arrange the dough diagonally, with a cookie on each surface near both ends of the sheet. Keep plenty of room between them.
Avoid comparing a first tray fresh from a cold bench with a second tray that just came out of the oven. The bottoms of the second pair begin to melt as soon as they touch the pan. That head start can change the shape of the cookie more than the liner. Cooling a pan on a rack is quicker than leaving it flat on a counter. Use another identical pan if you have one and it makes the comparison easier. Keep your oven setting, time and portion size the same until you see the first results.
Compare the edges after a short rest
Watch for the point at which the outer ring stops looking wet. For a soft-centered cookie, the center can still look puffy or slightly glossy. The underside is harder to read. Give the cookies a few minutes on the sheet so their structure sets, then lift one with a thin spatula and look. Is the base uniformly gold or dark in patches? Does the rim slope gradually toward the center, or does it spread into a thin lace? The side view matters because a small difference in diameter can take a disproportionately large share of dough out of the middle.
Bare metal gives the dough direct contact with the pan. It can yield a crisp base with clear browning, and a sufficiently buttery dough may release cleanly. Some recipes behave beautifully this way. A sugar-rich cookie can adhere at thin caramelized points, and scraping at it while it is hot can remove the crispest parts. Let it set a little longer and see whether it comes away. Greasing a bare pan may help release for some recipes, but it changes the comparison and can leave a cookie with a dark, fried-looking fringe.
Parchment often gives a more forgiving release with less need to handle the cookie early. If a batch is browning faster than expected, a piece of parchment can also let you slide the entire group onto a rack once the cookies are set enough to move. Use two hands and bring the rack up to the edge of the tray. Picking up the paper by opposite corners with no support underneath can make the hot cookies bend toward the middle.
A silicone mat is thicker than paper and has its own grip and texture. Depending on the dough and the mat, it can change how far the cookie spreads as well as how its underside browns. Its flexibility is helpful for thin, delicate cookies after they cool. Wash the mat according to its directions and check for oily residue or lingering aromas before using it for a mild dough. A clean mat can be used repeatedly, which is valuable if you bake frequently. Keep knives away from it.
Match the surface to the finish
For cookies intended to sandwich around a filling, uniformity matters. Two discs with matching edges stack neatly, hold filling and are less likely to crack when pressed together. Start with parchment on a sturdy sheet and portion the dough by weight. After that, pay attention to spacing. If two soft cookies spread until they touch, a perfectly even underside will not rescue their shapes. Leaving two or three inches between portions is a reasonable beginning for many drop cookies, with more room for a recipe known to spread.
If you want deeply browned edges and a slightly chewy center, bare metal may suit a dough that releases well. Try one or two before committing a full tray. For cutout cookies whose lines need to stay sharp, chilling the cut shapes and avoiding an overly warm pan are usually more important than the choice of liner. Paper still helps with transfer. You can roll or cut certain doughs directly on parchment, remove the scraps and move the shapes as a group. Flour used while rolling can affect the final texture, so use only what you need to keep the dough from sticking.
For a pale-bottomed butter cookie, use a light pan and start inspecting earlier than the stated finish time. A second sheet underneath the first can reduce aggressive bottom heat in some ovens, although it also changes how the whole tray warms. Make that a later test. There is little value in solving the same problem with a new pan, a second sheet and a different temperature all at once. You may get a pleasant cookie and still be unsure how to repeat it.
Keep a record that will help next time
After the cookies cool, break one from each pair in half. A cookie that felt floppy after four minutes may have a crisp base half an hour later. One that seemed properly chewy may be slightly greasy because the dough spread too much and lost its thicker middle. Write down two observations about each surface, such as “pale base, clean edge” or “dark center underneath, stuck at one point.” Include the dough temperature and pan color. A photograph of the bottoms side by side can be surprisingly useful when every top looks almost the same.
If parchment wins, use the remaining pieces of the sheet when they are clean and intact and the packaging permits reuse. Replace paper that has scorched, become brittle or picked up drips that would burn in the next batch. If bare metal wins, wash the pan and start from the same condition next time. A thin film left over from a previous batch can change how the dough moves. The small trial earns its keep on a busy baking day, when there is no time to guess which tray needs another minute and which one has already gone too far.