Watching Popovers Through the Oven Door
A popover makes much of its progress after it looks finished. Use the oven window, the shape of the pan and the color of the sides to decide when to take it out.
7 min read
A popover can grow so quickly that the person standing at the oven is tempted to open the door for a better look. Opening the door is the wrong way to satisfy that curiosity. The thin walls have risen, but they may still be too soft to hold their height when the hot air escapes. For the first bake, treat the oven window as the only view available. The sides will become more informative than the crown, and the crown will usually tell you everything you need to know about how much clearance to give the next tray.
The appeal of the popover is the space inside. A short list of ordinary ingredients makes a pourable batter that expands in a hot oven, using steam as an important source of lift. The cooked shell should have enough strength to lift from the pan and enough delicacy to break with your hands. There may be a soft ribbon of eggy crumb inside. A wet layer spread across the base, on the other hand, tells you something about the finish of the bake. The point of watching is to see when a tall but fragile shell turns into one that can leave the oven.
Look at the pan while it is empty
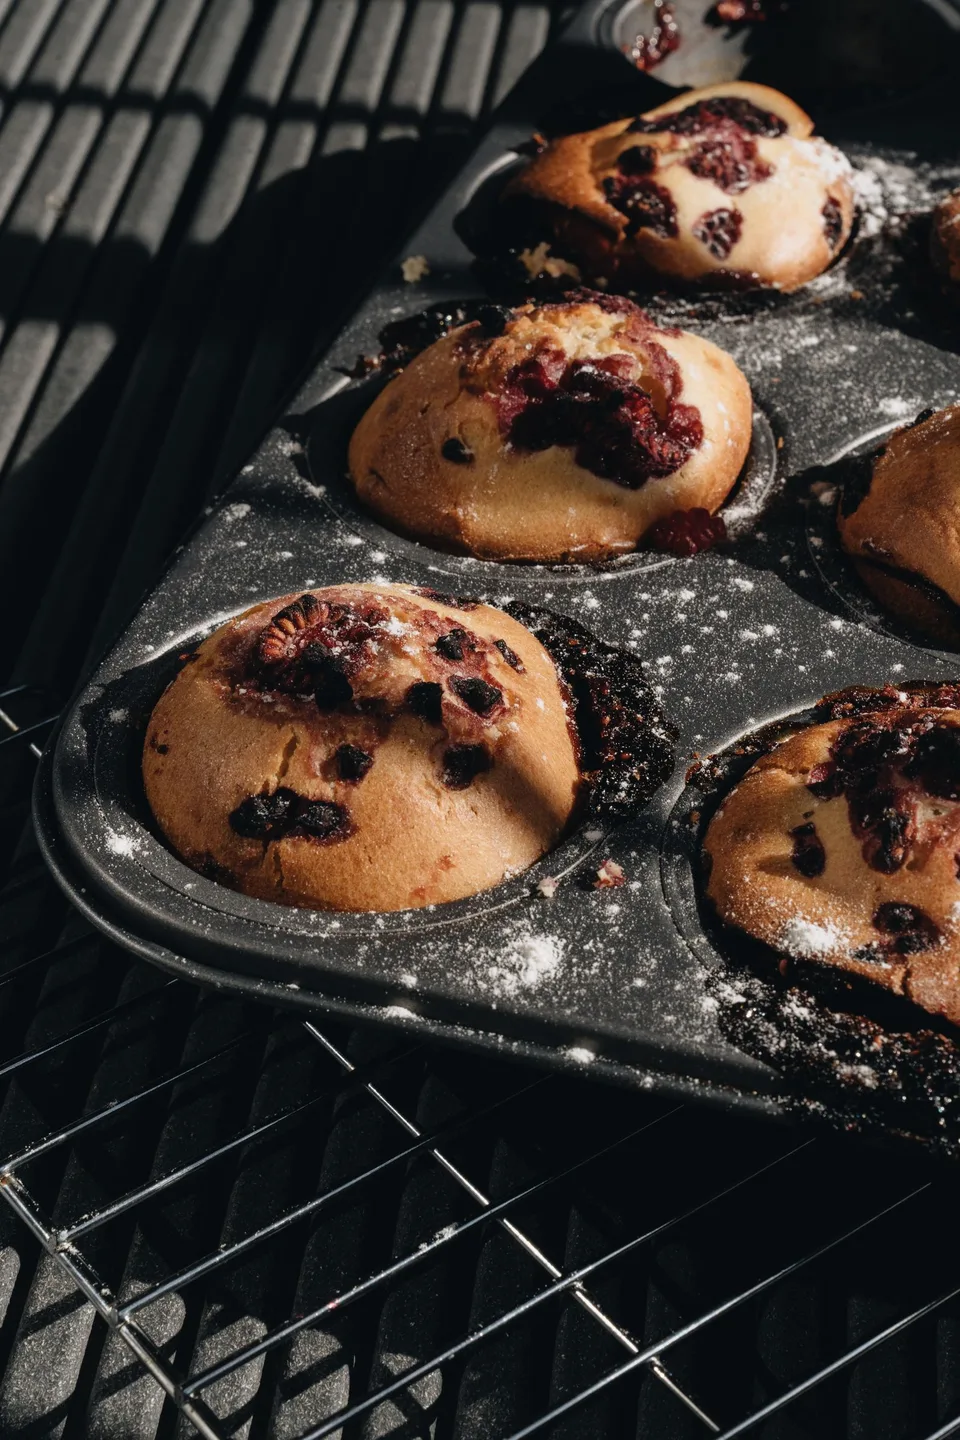
A dedicated popover pan usually has deep cups with room around them. A plain metal muffin tin can also make popovers, as shown in PJ Hamel's recipe for King Arthur Baking. In a shallow muffin tin you can expect the finished pieces to be somewhat wider relative to their height. The pan may hold more individual portions, which is useful for a table where each person wants one and nobody needs a large empty shell to fill. A dedicated pan is an option if you bake them often or want a taller shape.
Measure a cup with water if you are unsure how large it is. Then dry it completely before greasing. Two pans described as standard can have noticeably different wells, and a batter intended for twelve portions may fill one farther than the other. A moderate fill gives the batter space to rise. Save any excess rather than forcing it into cups already close to the rim. If you grease the tops between the wells as well as the interior, a popover that spreads across the edge is easier to release.
Put a rack low enough to leave several inches above the tops. Think through how the pan will come out while holding a cold pan and oven mitts. The pan should be easy to set down without touching a tall popover on the rack above it. Remove that extra rack before preheating if you do not need it. There is little reason to negotiate a crowded oven with a tray of tall, hot pastries. A clear rack also makes it easier to see the sides through the window.
Prepare the batter with pouring in mind
Use a tested basic popover recipe for the first observation bake. The usual ingredients are eggs, milk, flour, salt and a little fat. A whisk and a bowl with a spout can handle the job. If your bowl is awkward to pour from, use a small jug. Arrange the cups so they can be filled without carrying the batter over the rest of the kitchen. A drop on the outer rim will set quickly and can help a bit of the finished pastry stick.
Bring the milk and eggs toward room temperature as directed by the recipe. Melted butter should be warm enough to remain liquid and cool enough to mix easily. Beat the eggs and milk until you see no distinct bands of white or yolk. Work in the flour until the batter can pour freely and there are no large dry lumps. A few small ones matter less than a patch of flour clinging to the bottom of the bowl. Scrape across the base once and check it. You can finish mixing before setting the batter aside for the few moments it takes to clear the bench.
Do not taste raw batter. If you want to see how thin it is, lift the whisk and watch how the stream returns to the bowl. It should flow in a ribbon that disappears quickly rather than holding a mound. If it seems much thicker than the recipe describes, check whether the flour was measured by weight or packed into a cup. Fixing an inaccurate measure by pouring in a large amount of extra milk gives you a new recipe. For a first bake, it may be easier to start over and get a dependable reference.
Watch the first rise without opening the door
Preheat fully to the temperature specified by your recipe. The King Arthur method begins in a very hot oven and later lowers the temperature without opening the door. Set a timer so you can change the setting on schedule. Once the pan is in, leave the door alone through the early rise. Put the oven light on if you have one. If you do not, follow the timing of a recipe that matches your equipment rather than opening repeatedly to look for progress.
At first the cups may look quiet. Then the middle and edges can rise at different rates. Some tops lean, some develop a smooth curve, and some form a split. Shape tells you less about readiness than you might expect. A spectacular dome can still be pale around the side. Wait until the rise has become stable and the top is getting color before treating appearance as a reason to change the schedule. If one popover reaches farther upward than the others, observe it and remember to leave more clearance next time.
When the heat is reduced, the outside can become firmer without the tops darkening as quickly as they did during the first part. Look at a ridge low on a shell if you can see one. A pale ridge on an otherwise brown popover is a sign the baking may need to continue. Look for a deep golden surface rather than a faint suggestion of color. Oven windows can distort color, so give yourself a view from several angles before opening the door at the expected finish time.
Let steam leave on your terms
Have a rack ready before pulling the pan out. Use mitts that give you a secure grip and move the pan to a stable surface. Try lifting one popover gently. If it is firmly attached, wait a moment and use a narrow utensil that suits the finish of the pan to release the edge. The top is easier to tear than the thicker part near the bottom, so do not pull hard from the crown. Grease coverage matters here, particularly when batter has reached outside a cup.
A popover begins losing some height as it cools. A shell that collapses almost immediately may have needed a little more time to dry and firm. For a crisper finish, pierce the side of each finished popover with a small knife so steam can escape. Set them on the rack rather than packing them against each other while still hot. If you want to keep them warm for a short time, hold them in a warm oven according to the recipe rather than closing them in a bag or sealed dish.
Split one when it is cool enough to handle. Notice where the shell is thick and what the base looks like. A slight soft band can be pleasant. A gummy base suggests you should examine timing and fill level before changing the ingredients. A thin wall that breaks crisply and a cavity that can hold a spoonful of something are more useful signs of success than a perfectly vertical shape. In a muffin tin, a dozen slightly different shapes can come from batter poured out of the same bowl.
One useful way to compare the dedicated pan and muffin tin is to split a finished piece from each after it has cooled the same amount of time. Look at how high the empty space begins and how much of the rim is crisp. Those differences help you choose a pan for a particular serving even when both bakes rise successfully.
Choose a serving that respects the shell
Bring them to the table soon after baking. A small pat of butter can melt into the warm interior. A spoonful of tart jam works if the shell is split rather than opened all the way through. For a savory plate, use a thick filling and add it at the last moment. A very wet mixture quickly softens the same walls you spent the final part of the bake firming. Serve a sauce nearby if you want people to have both a crisp edge and a soft bite.
A cold leftover popover is a different food. Warm it briefly in an oven to restore some crispness. It can also be torn over soup just before serving if it has lost its shape. When you bake again, keep the batter and pan familiar and alter only what you learned from the previous batch. Perhaps the lower rack had better clearance or the shell needed a little more color near the base. The window gives you a record of where the bake changed, and a split popover on the plate gives you the part you could not see from outside.