The Thin Line Between Sesame Crackers and Flatbread
An olive oil dough becomes crisp through thickness, venting and a short final bake. Score one sheet and break it where you want it to break.
8 min read
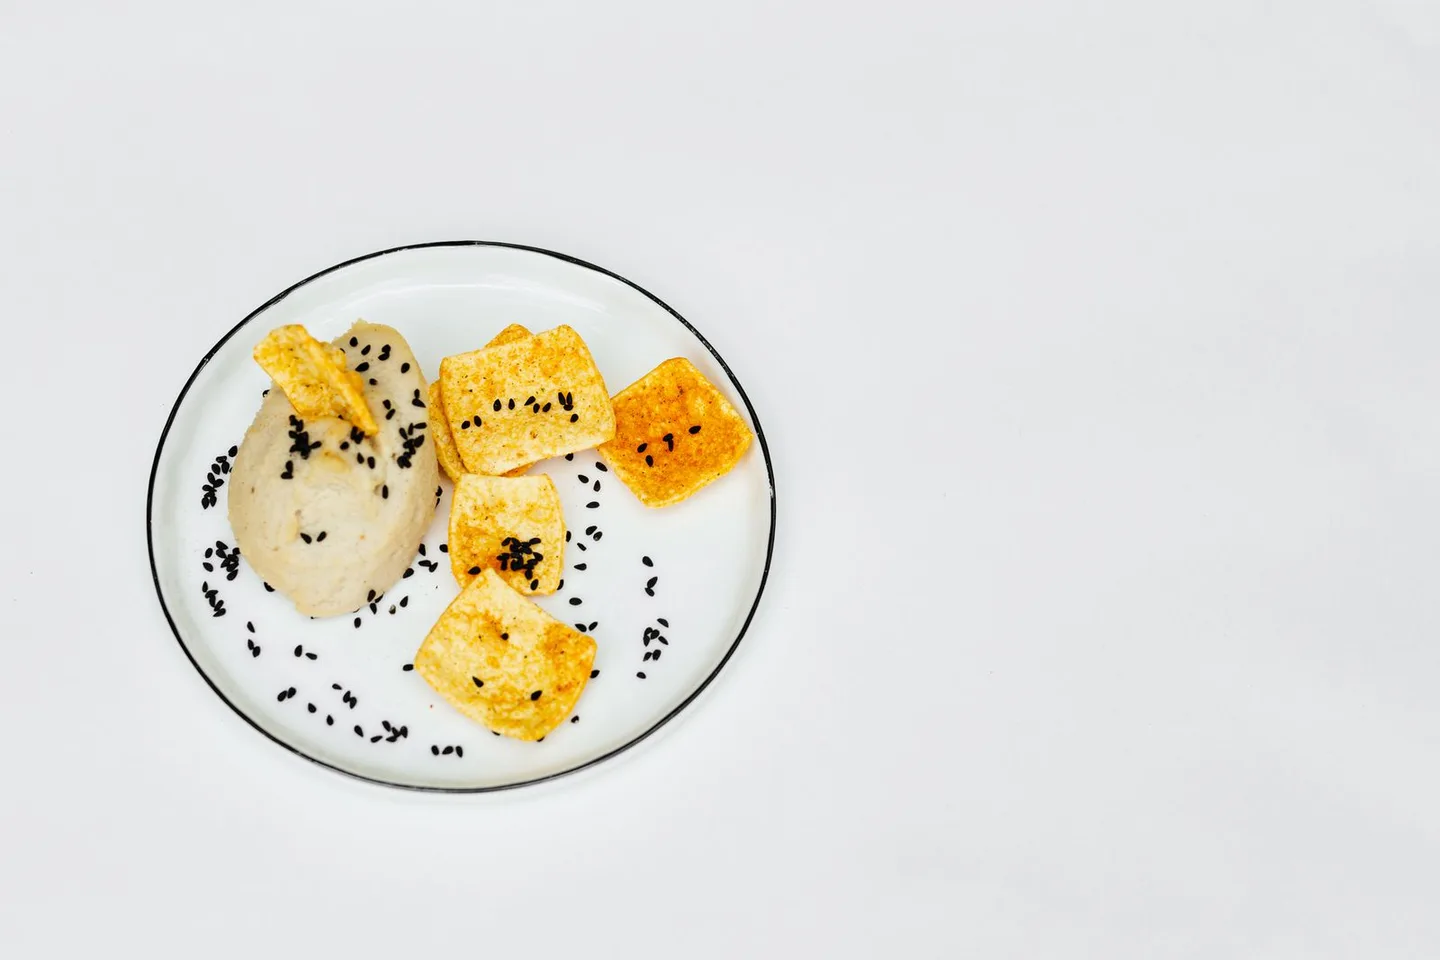
A cracker makes its first useful sound when you break it. The snap should be brief and clean, without a bend at the middle. A thin sheet of dough can get there even if its first trip out of the oven leaves a few pieces flexible. Remove the browned edges and give the pale middle a little longer. The second bake is often the easiest way to get an entire pan crisp without sacrificing the corners. It is also a reason to score the sheet before it goes into the oven, while you can still choose where the pieces will separate.
These crackers are rolled from a simple flour, water and olive oil dough. There is no yeast and no long wait. Sesame seeds provide a toasted flavor, with some inside and a few pressed onto the surface. The oil makes the dough easier to roll and gives the finished pieces a tender break. If you roll the dough thickly and pull it while it is pale, it may be closer to a pliable flatbread. That can be pleasant. For a cracker you can set next to a moist spread, keep the dough thin and let the middle dry.
Begin with two small sheets
For two baking sheets, use 180 grams all-purpose flour, 30 grams whole-wheat flour, ½ teaspoon fine salt, 24 grams sesame seeds, 28 grams olive oil and about 100 grams water. Set aside a little extra water and a small pinch of coarse salt for finishing. The whole-wheat flour gives a mild grain flavor. If you use only all-purpose flour, begin with slightly less water. If you like a stronger flavor, choose a more pronounced olive oil and leave other seasonings out until you have tasted the result.
Choose baking sheets wide enough to hold a rectangle about 10 by 13 inches. Cut a piece of baking parchment for each. Heat the oven to 375°F or about 190°C. Use a center rack and bake the sheets in turn for your first batch, which makes it easier to spot how the dough is changing. If you have a convection oven and two identical sheets, you can bake both at once on a later attempt. Swap their positions partway through if one rack colors them much faster.
Put about two thirds of the sesame seeds into the dry ingredients. Keep the remainder for the surface. Raw seeds will toast in the oven. Already toasted seeds give a stronger flavor, but the ones on the surface may darken sooner. You can use a mixture of white and black sesame for visibility. Their colors do not tell you how done the cracker is, so look at the flour surrounding them. Sesame is an allergen. If you need to cook without it, omit it entirely, use a suitable alternative and work on clean surfaces with clean equipment.
Mix until the dough can be stretched gently
Stir the flours, fine salt and larger share of the seeds together. Add the oil and most of the water, stirring with a fork or your fingers. Work the remaining water in if you still see dry flour at the bottom. The dough should feel slightly soft and hold together in a smooth piece after a few folds. It does not need the long kneading you would give to bread. If it smears on the bench, dust it lightly. If the edge falls apart as you fold it, work in water a teaspoon at a time.
Divide the dough in two and flatten each portion with your palm. Cover the portions and leave them for fifteen to twenty minutes. The rest allows the flour to take up water and makes the dough less inclined to recoil after each pass of the rolling pin. If you have to stop for longer, wrap the dough and keep it cool. Give it a few minutes on the counter before rolling if it feels stiff. Dry patches around the edges are especially difficult to roll thin, which is why covering the dough matters.
Roll one portion at a time. Place it between the parchment sheet and another piece of parchment, then press outward from the middle. The upper sheet keeps the pin clean and lets you see the overall shape. Lift it occasionally to prevent creases. Turn the paper and roll the thickest parts again. Aim for around a sixteenth of an inch, or about 1.5 millimeters. The corners can be untidy. It is more important for the whole rectangle to have a similar thickness than for its outlines to match the baking sheet.
Add the visible seeds and mark the breaks
Peel away the top paper. Brush a very small amount of water over the dough. Scatter the reserved seeds and, if desired, a pinch of coarse salt. Put the upper parchment back and pass the rolling pin over the surface once or twice. That presses the seeds into the dough. Loose seeds on top can toast well, but many will fall onto the tray when you snap the sheet. If a patch of dough is already wet, skip brushing that patch. A thin veil is enough to give the seeds something to grip.
Mark the sheet into pieces with a pastry wheel or the blunt back of a knife. Cut through most of the thickness without slicing the paper beneath. Small rectangles are easy to dip. Long strips make a more dramatic accompaniment to soup and need a steadier container. You can also mark several lengths for a rougher mix. Give each piece a few holes with the tines of a fork. The holes make it easier for trapped steam to escape, reducing the largest bubbles. Small raised spots will still appear and give the surface some variety.
Slide the parchment and dough onto the baking sheet. Check for loose corners of paper near a heating element, and trim or fold them away. Use baking parchment rated for the temperature on its packaging. If a corner of dough became noticeably thinner than the rest, cut that strip away and bake it on a separate patch of paper as a quick test. It will be useful to know how soon the thin edge changes color.
Let the outer pieces finish first
Bake for about 12 to 18 minutes, checking the tray around the ten-minute mark. A pale gold color at the edge and a dry surface are the first clues. Lift one outer corner with a spatula. It should be lightly colored on the underside. Turn the sheet once if the back is browning far more quickly. A dense center can stay pale until the edges are too dark for your taste. If the sheet has firmed enough to separate, remove the edge pieces and put the middle back in the oven for another few minutes.
A second approach is to let the whole sheet cool for two or three minutes, break it along the score lines and arrange the pieces with room between them. Turn the pale centers over and bake them a little longer, watching closely. Once the edges have some color they can darken quickly. If most pieces are already golden and need only to dry, lower the oven to around 300°F or 150°C and give them a few more minutes. A dry finish at moderate heat can produce a better snap than trying to brown everything at the original temperature.
Cool all the pieces on a rack. They may be faintly flexible when very warm. Test again when they reach room temperature. A cracker that snaps at the edges and folds at the middle may have been rolled thickly in one place. Return those pieces to the low oven for a short finish if you want them to match the rest. A piece that is already dry but softens after sitting may have picked up moisture from the air. Cool the next batch thoroughly and store it in a closed container as soon as it is ready.
Taste with the thing you baked them for
Try one plain cracker before adding a dip. It should taste of toasted sesame and oil, with salt that lingers briefly. Then add a small amount of the spread or cheese you plan to serve. A very salty accompaniment changes how much salt the dough needs. A sharp spread may benefit from a cracker with a little more olive oil flavor and no other seasoning. Make one adjustment at a time. For a first change, try using slightly more seeds on the surface or cutting a new shape from the same dough.
For a party, place the most fragile strips upright in a narrow bowl only when the guests are ready to eat. Use a low, broad dish for short pieces so people can take one without knocking the rest down. Shapes you thought were incidental when you cut the dough become practical when several hands reach for the crackers at once.
Keep crisp crackers away from fresh fruit or any damp bread in storage. Put them out in small groups when a dish will be on the table a while. If you are packing some for later, choose a rigid container and save the larger pieces for it. Small broken pieces can go over a bowl of soup just before eating. The success of the tray is most obvious then. Even a piece that could never hold a spoonful of dip can provide a bright little crack against something soft.